
How Can I Make My iPhone Take Better Videos?
Awesome iPhone Videos
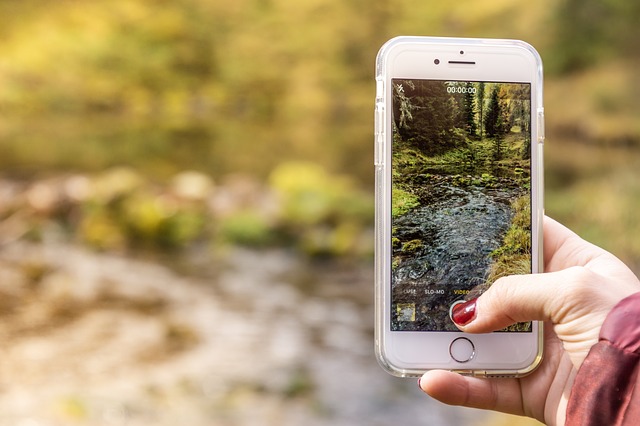
Apple has made tremendous progress in the phone video recording sector since it first launched the feature for the iPhone 3G. Now, you can create priceless masterpieces with current features like 4K video recording in your iPhone and make it quite as similar to a Hollywood movie production.
This article is sponsored by Frisco Fence
Needless to say, not everyone is able to create such art and it must be upsetting since you possess a quality video recorder that’s even better than some of the expensive traditional cameras.
In this article, we’ll provide you with a few simple tips that can help you take better videos on your iPhone.
Support
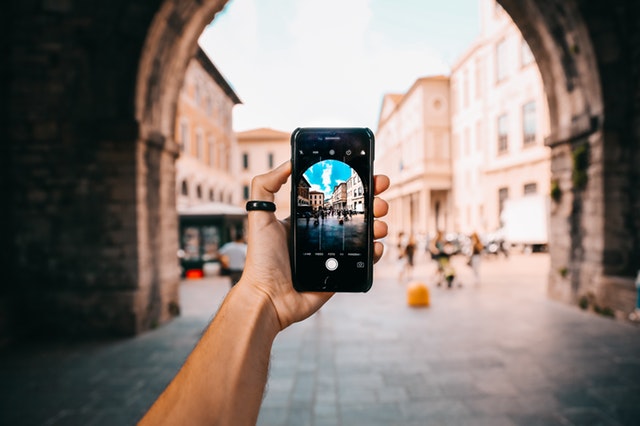
Shaky videos are always quite a bummer. Your intent to get a crispy final cut could be fruitless because of the lack of appropriate support to hold the phone in place as it records. That said, a tripod or a gimbal are some of the best hackers for this problem. With either one, you’re not only able to create a better resolution for your video but are also able to move more and do more around the scene. Tripods are the common ones of the two, mainly because of their low prices as compared to gimbals which are sold for around $20 by many retailers. Also, avoid using the zooming tool on the camera app and opt to move closer to your subject instead while taking the video. If you’re stuck to using your hands, make prompt your elbow close to your body for support and maintain closeness with the subject.
Light
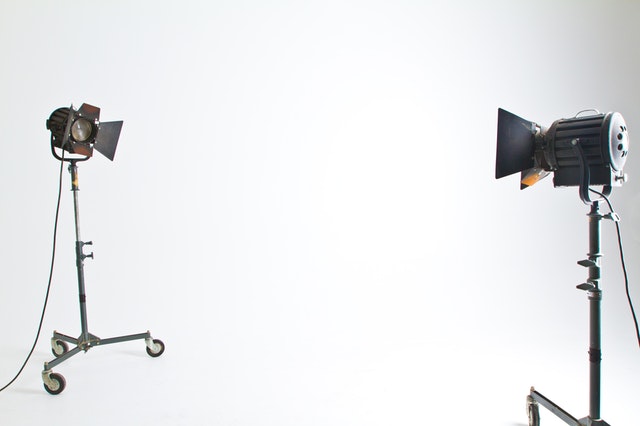
Light density is a fundamental factor in video recording. Making sure that you have an abundant supply of light provides a better saturation and exposure to your subject or object in view. Find a scene where more natural light is available or even create your own by getting a large white surface that reflects the light on your viewpoint. It’s like having your own photo studio. PS: The flash on the camera won’t do justice to your videos as well as it would for your pictures.
Shooting mode
Taking videos in a vertical position (portrait) drowns you into those disgusting borders on the final cut of your video. By shooting in a horizontal position (landscape), you are able to avoid this on your final clip thus making your post-editing or watching the video on your computer much easier. In addition to that, always use the exposure lock feature on the camera app to avoid the automatic focus adjustments done by the phone as it tries to expose the subject. Disabling the exposure effect enables you to have a constant sharpness of your video. It’s simple to disable it. Just hold down on the screen on the camera app and wait for the AE/AF exposure lock feature to appear on the screen, then drag it to an exposure you like. Lastly, always make sure your phone is on Airplane mode to avoid bugging notifications and noise that will distort the quality of your video.
Video Editing
Use features like slow-motion and time-lapse on your videos with different settings on the settings panel to create more with your editing skills. More so, editing a video on a computer never gets old and with free software tools like iMovie, creating awesome videos has never been easier.
Thank you for visiting our site, we hope that you have found loads of great information that will help you with taking better videos with your iPhone. If you have any other tips we would love to hear them, so please submit your tips to us and we will be glad to share them on our site. If you have any other comments or questions you can reach out to us as well. Please also remember to visit our sponsor for all of your Frisco Fence Staining needs.